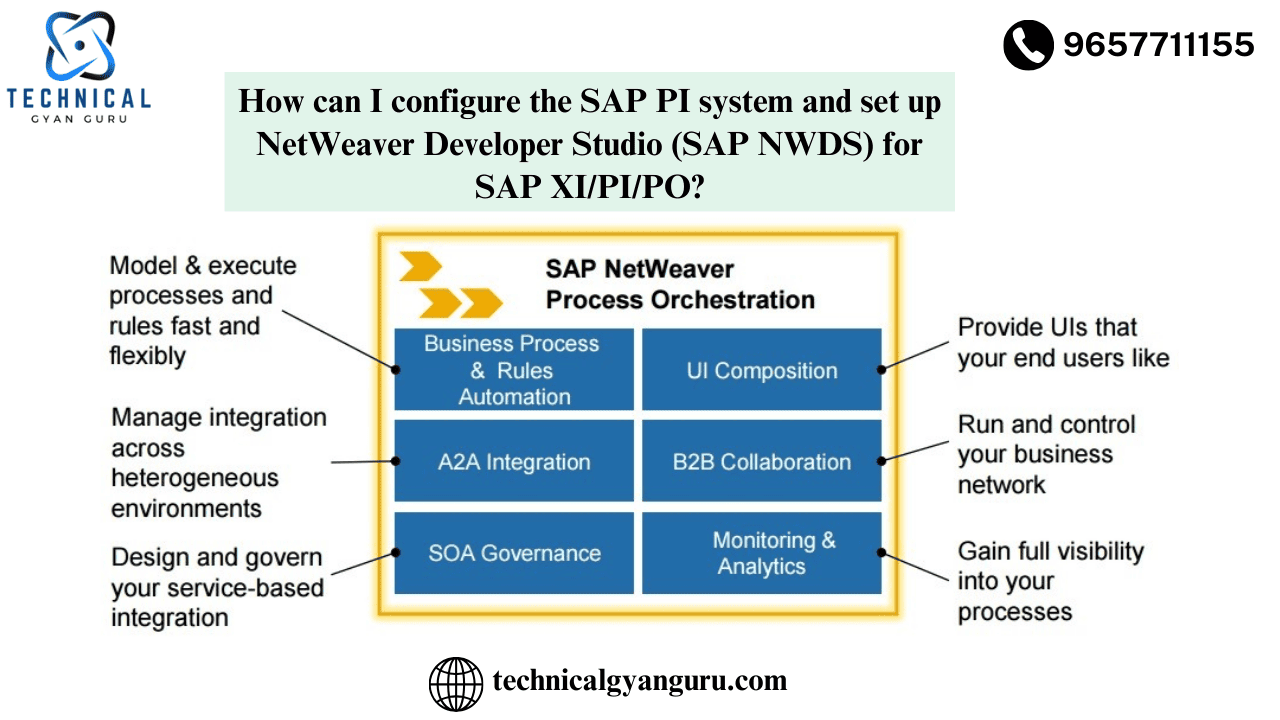
We will walk you through the steps of installing the necessary JDK version and configuring NetWeaver Developer Studio on your local PC in this comprehensive tutorial. We’ll also set up the SAP PI system to work with NWDS. The NWDS program itself will allow us to create, edit, and display the ID and ESR objects once they are defined.
The summary of the material we will cover in this session is as follows:
An overview of the software NWDS.
- Verify the version of SAP PI AEX software.
- Recognizing the distinction between JRE and JDK
- Install and set up Java on your personal computer.
- Install and download NWDS.
- Problems encountered when setting up NWDS
- Linking the SAP PI system to the NWDS
- Recognizing the NWDS environment
1) An explanation of NWDS Software and its connection to SAP PI
The acronym for NetWeaver Developer Studio is NWDS. You can write Java apps for SAP using this Eclipse-based integrated development environment (IDE) (Eclipse tool customized for SAP purpose). You can design custom adapter modules, various mapping kinds, data types and message types, and a host of other PI-related tasks that we can develop in NWDS.
You can define and create Web services using NWDS as well.
- To sum up how NWDS is used:
- Write Java apps that are stand-alone.
- Create and assemble maps in Java.
- Create, assemble, and implement the adapter module
- Link to the SAP PI system
- To connect to the SAP PI system, write a Directory API.
Establish, set up, and implement NW BPM.
SAP PI development tool
Create iFlows interfaces.
Check the version of the SAP PI AEX JDK.
Prior to installing the NWDS and beginning the configuration process, let’s locate the PI system’s JDK version. For example, if a client gives you the PI Java Stack system URL and you are new to the project, you cannot read ESR/ID unless JDK is installed on your computer.
The JDK version on your machine and the PI should be the same. To be aware of the PI JDK version: To access the Administration tools window, navigate to the PI Homepage at http://\host>:\port>/dir/start/index.jsp and click the Administration link that appears below.

To view the JDK version referenced, click on Software Build details (either the ID or ESR tab). Thus, you must match the JDK version of your machine to the JDK version of the PI system.

3) Recognizing the distinction between JRE and JDK
Java Development Kit, or JDK
Java Runtime Environment, or JRE
To put it simply, in order for the system to run Java programs, JRE is required. similar to running or opening ID and ESR. JRE comes in handy, for example, if you have to run Java programs only. Developers will not be able to create Java programs using just JRE.
To create Java programs, a developer must have JDK. For example, JDK is required if you wish to write a Java application, compile it, and run it. These days, JRE is included in JDK, thus you don’t need to worry about JRE if JDK is sufficient on its own.
4) Install and set up Java on your personal computer.
Go to the aforementioned URL and get the Java SE 8 JDK. Put it in place.

After installation, open the command line and confirm that the installed version is correct. To view the installed version, enter “java -version” and hit Enter.

The PI JDK version and the installed version match. We are so on the correct track. Go to “C:\Program Files\Java” in order to examine the JDK files locally.
If the Java version details are not visible in the command line, don’t worry. This will appear as soon as you adjust the environment variables to point to the Java file path (C:\Program Files\Java\jdk1.8.0_291\bin).
Let’s go to System Properties and set the above path.
- Option-click THIS PC or MY PC.
- Choose Properties
- Select Advanced System Configuration.
- Click the Environment variables button under the advanced tab.
- The screen for environment variables appears.
- There should be a PATH variable under the “system variables” section.
- After clicking on it, choose EDIT
- Click NEW to add the “bin” path mentioned above.
To view the JDK version details, type “java -version” into the command line and hit Enter.
5) Install and download NWDS.
Information required to download the NWDS application. The SAP PI system’s SP and patch level are available in NWA’s system component information section. System information link under NWA -> Configuration tab -> Infrastructure sub-tab.
Select the “Components Info” tab and remove XIAF from the name column.

The Version column displays the corresponding version.
Not relevant: 1000.7.50.10.78.20200331203000
7.50 is the PI system’s NetWeaver release; 10 is the system’s SP version; 78 is the SAP_XIAF component’s patch level; 20200331203000 is the patch release date/time, in this case 2020/03/31 20:30:00
In this case, the XIAF component is using SP10 patch 78.
Regarding the patch level, don’t worry. NWDS requires the SP version in order to be downloaded. Use the link below to access the SAP Software Center.
To download the program from the SAP program Center, you must an S-User ID.

Navigate to the path below: Sorted alphabetically (A-Z): N -> SAP WebWork -> SAP WebWork 7.5 -> In the upper right corner, click the blue “SUPPORT PACKAGES AND PATCHES” button. -> STUDIO DEVELOPER -> NW STUDIO DEVELOPER 7.5
I downloaded the approximately 1.1GB NWDS SP10 P18 zip file for my SP level 10.

After downloading, a ZIP file is visible to the created.
PLEASE EXTRACT USING 7-ZIP is the most crucial step. AVOID USING WINRAR. It appears that there are problems with the WINRAR extraction process, such as corrupted or missing files. Thus, the extraction procedure was unsuccessful. Use 7-zip to resolve this problem.
Double-clicking the ECLIPSE.exe file after it has been extracted will launch the program.

The workspace name and folder path (where the project files are located) must be entered when prompted by the application. Each project’s workspace location can be specified during the NWDS launch or The application will display an error message stating, “YOU ARE RUNNING DEVELOPER STUDIO WITH AN UNSUPPORTED JVM,” once the user enters and clicks Continue. Rather than using JRE, you must use a JDK as a JVM.
6) Issues encountered with NWDS installation
The problem message indicates that NWDS software is not recognizing the JDK that we have installed. Therefore, we must identify which NWDS should use this JDK version.
There are two ways to set the JDK path in NWDS:
a) Go to the Windows menu, NWDS software, Preferences, Java dropdown, and Installed JREs. You should click the ADD button, as seen below, to add the JDK path there.

The JDK path must be entered into the Windows -> Preferences menu for each workspace that is created, which is a drawback of this approach of setting it up there. This will also be helpful if you want the new JDK version for one project and the old JDK version for another.
b) If not, switch the launch parameter in the ECLIPSE.INI file to configure the JDK path when the NWDS software is launched.

Using NOTEPAD, open the ECLIPSE.INI file and add the following parameter.
-vm
Javaw.exe is located at C:/Program Files/Java/jdk1.8.0_291/bin.

THAT IS ALL. NOW, YOU CAN USE NWDS (SAP’S ENHANCED ECLIPSE version).
7) Linking the SAP PI system to NWDS
We will now attempt to get the ID and ESR contents from NWDS by connecting our PI system to it. You must be aware of the PI server host and port information before you can begin the connecting process.
To access SAP AS Java, navigate to Windows -> Preferences -> To add a new connection, click ADD.


Click CONNECT to connect to the PI ESR and ID and enter the PI user credentials when the connection data have been maintained.


To continue with the connection, select “USE COMMON CREDENTIALS FOR DIRECTORY AND REPOSITORY.”
8) Identifying the NWDS Setting
After connecting, you may see the Enterprise Service Repository view in the left pane. Choose Enterprise Service Repository by choosing Windows -> Perspective -> Open Perspective -> Other if it isn’t displayed.


For displaying the Integration directory objects, in the same way, open the perspective and choose SAP Process Integration Designer.

You will have the list of IFlows created under the Integration Flows and Systems dropdown contains the created business systems and business components and its respective communication channels created.

As demonstrated below, you can select the button next to Quick access or click on the corresponding tabs to switch between the ESR and ID views.

PROCESS INTEGRATION is a menu item that may be quickly used for tasks including exporting or importing data, seeing value mapping groups, and moving items via CTS. Additionally, by choosing Process Integration -> Generate Integration flows -> Integrated Configuration, you can quickly transform bulk integration scenarios to iFlows.
you may be interested in this blog here:-
Just a key and two clicks for ALV consistency check
Making Your First Salesforce Appexchange: A Complete Strategy


