
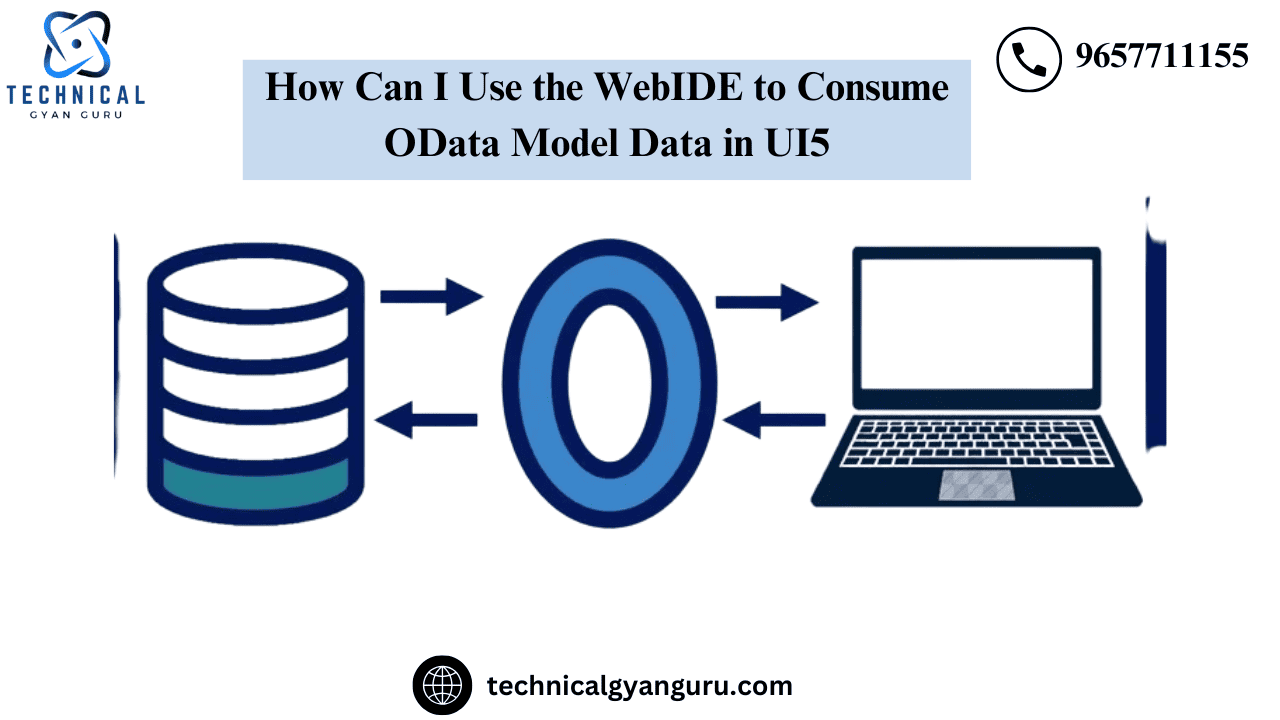
In our SAPUI5 Application, we most commonly need to ingest SAP ABAP OData. SAP is, after all, our main source of income. The title makes it clear that we will be using an OData model data to drive a SAPUI5 application in this lesson. We would use WebIDE as our development environment.
The tutorial’s goal is:
- Creating a destination in an account on SAP Cloud Platform
- Data Source creation is done in the manifest.JSON data
- OData Model Declaration in the manifest.json file
- OData model instance creation in the controller code for your view
- Using NorthWind Odata, a service that is accessible to the general public
Lets get started…
Establishing a destination in an account on SAP Cloud Platform

As indicated below, enter the destination properties.

Once you click the “Check Connection” button, a success message ought to appear.
- The Manifest.json file’s Data Source creation
The manifest.json file in SAP WebIDE contains a code editor and a descriptor editor.Based on the previously constructed destination, we will create a new data source using the descriptor editor (no code). To create a new Data Source for your SAPUI5 application, open the manifest.json file in the descriptor editor, select the Data Sources tab, and click the Add icon. The next step would be to develop an OData model using this data source.

Choose the Service URL option in the New Data Source Wizard and input the following values:

Enter the path to the service in the Relative URL field. It is /V2/northwind/northwind.svc in our instance. Next, press the Test button.
Note: Do not include the relative path of the service when creating the destination; only the domain should be provided.When the Data Source is created in the manifest.json file, the relative path should be provided.
The manifest.json file contains an OData model declaration.
In the event that the test is successful, the wizard’s Next button will be enabled. Press the Next button. Enter the name of your OData model on the wizard’s next page. The name of the model in our instance is myModel.

Press the “Finish” button.

This will produce the manifest.json file’s datasource and model code.

4 . The controller of your view has created an instance of an OData model.
To access the Model declared in the manifest.json file from the previous step, write the code below in the onInit method of your view’s controller.
onInit: function () {
 // access OData model declared in manifest.json file
 var oModel = this.getOwnerComponent().getModel("myModel");

 //set the model on view to be used by the UI controls
 this.getView().setModel(oModel);
 },
The Products entity in OData Model
Our application’s OData model is built on the NorthWind OData service, which is accessible to the whole public. You can get its metadata by using this URL. There is a ton of data in this OData service under several entity kinds, such as Categories, Customers, Employees, Products, etc. We will be using the OData service’s Products Entity in this lesson.

Binding XML View Controls to Show Collection of Products
Write the code below in your XML view to tie an ObjectHeader and an ObjectListItem to the Master and Detail sections, respectively.
<mvc:View controllerName="org.unity.DemoMasterDetail.controller.View1" xmlns:mvc="sap.ui.core.mvc" displayBlock="true" xmlns="sap.m">
	<Shell id="shell">
		<App id="app">
			<pages>
				<Page id="page" title="{i18n>title}">
					<content>
						<SplitApp id="splitappid" masterButtonText="Master" masterNavigate="" afterMasterNavigate="" masterButton="" detailNavigate="">
							<masterPages>
								<Page id="masterpageid" title="Products" titleLevel="Auto" showNavButton="true" showHeader="true" showSubHeader="true" navButtonText=""
									navButtonTooltip="" enableScrolling="true" icon="" navButtonTap="" navButtonPress="">
									<content>
										<List id="productlist" items="{/Products}" headerText="Products" headerDesign="Standard" footerText="End of the List" noDataText="No Employees"
											showNoData="true">
											<items>
												<ObjectListItem type="Navigation" title="{ProductName}" number="{UnitPrice}" numberUnit="INR" intro="{ProductID}" press="onObjectItemPress">
													<attributes>
														<ObjectAttribute title="" text="{QuantityPerUnit}"></ObjectAttribute>
													</attributes>
													<firstStatus>
														<ObjectStatus title="{UnitsInStock}" text="{designation}"></ObjectStatus>
													</firstStatus>
													<secondStatus>
														<ObjectStatus title="{Discontinued}"></ObjectStatus>
													</secondStatus>
												</ObjectListItem>
											</items>
											<headerToolbar>
												<Toolbar>
													<content>
														<Title text="Products" title="Search"></Title>
														<ToolbarSpacer/>
														<SearchField search="onSearch" width="50%"></SearchField>
													</content>
												</Toolbar>
											</headerToolbar>
										</List>
									</content>
								</Page>
							</masterPages>
							<detailPages>
								<Page id="detailpageid" title="Product Details" titleLevel="Auto" showNavButton="true" showHeader="true" showSubHeader="true"
									navButtonText="" navButtonTooltip="" enableScrolling="true" icon="" navButtonTap="" navButtonPress="">
									<content>
										<ObjectHeader id="objectheaderid" binding="{/Products}" title="{ProductName}"
											number="{UnitPrice}"
											numberUnit="{CurrencyCode}">
											<statuses>
												<ObjectStatus text="Some Damaged" state="Error"/>
												<ObjectStatus text="In Stock" state="Success"/>
											</statuses>
											<attributes>
												<ObjectAttribute text="{SupplierID}"/>
												<ObjectAttribute text="{CategoryID}"/>
												<ObjectAttribute text="{QuantityPerUnit}"/>
												<ObjectAttribute text="www.technicalgyanguru.com" active="true"/>
											</attributes>
										</ObjectHeader>
									</content>
								</Page>
							</detailPages>
						</SplitApp>
					</content>
				</Page>
			</pages>
		</App>
	</Shell>
</mvc:View>


Specifying the View’s Controller’s onItemPress and onSearch Event Handlers
Return to your view and create an event handler for onObjectItemPress.
onObjectItemPress: function (oEvent) {
			// get the source control which triggered this event
			var oItem = oEvent.getSource();

			// get the binding context of the control
			var oCtx = oItem.getBindingContext();

			// get the binding path
			var path = oCtx.getPath();

			// use element binding to display current item
			this.getView().byId("objectheaderid").bindElement(path);
		},
Define the onSearch event handler now.
onSearch: function (oEvent) {
			// create a blank filter array
			var aFilter = [];

			// get the string which was searched by the user
			var sQuery = oEvent.getParameter("query");

			// create new filter object using the searched string
			var oFilter = new sap.ui.model.Filter("ProductName", FilterOperator.Contains, sQuery);

			// push the newly created filter object in the blank filter array created above.
			aFilter.push(oFilter);

			// get the binding of items aggregation of the List
			var oBinding = this.getView().byId("productlist").getBinding("items");

			// apply filter on the obtained binding
			oBinding.filter(aFilter);
		}
It’s Time to Run the SAPUI5 Program Test
In your WebIDE toolbar, click the “run” icon. A browser window will open with the application. Examine the application’s search and master detail functions. Take note that the SAPUI5 application is displaying the data from the Products entity.

Kindly provide your feedback regarding this tutorial, and I would be pleased to address any queries or remarks you may have.
THANK YOU
you may be interested in this blog here:-
How can I see the values of variables in OpenSolver as they change?
Navigating SAP’s E070 Table in SAP: The Heartbeat of Transport Management