
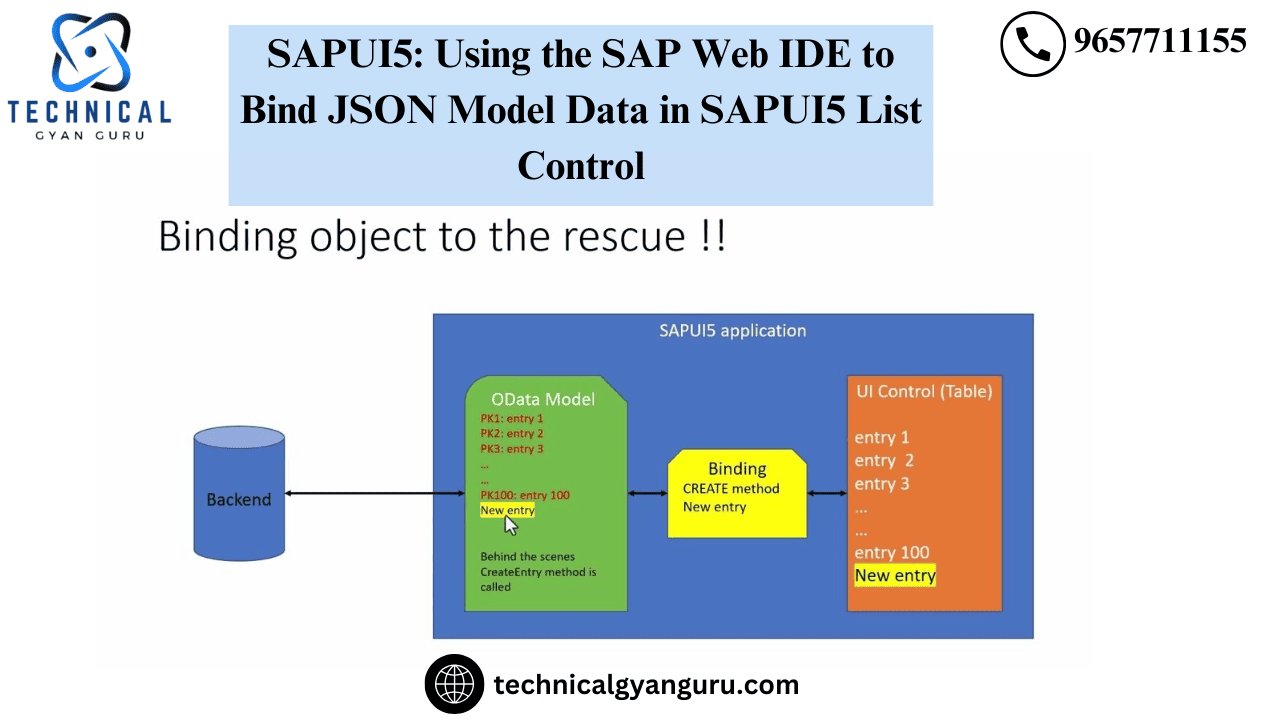
In UI5, models come in four different flavors: JSON, OData, XML, and Resource. OData is a server side model, whereas JSON, Resource, and XML are client side models.
We will build a JSON model and connect it to the sap.m.List Control in this tutorial. The SAP Web IDE will be used for this activity. Employee data from a company will be included in the JSON model. Attributes such the employee’s ID, name, location, and phone number will be included in the data.
Now, let’s get developing.
Open your Web IDE account and log in. The page below will appear after you log in and navigate to the Web IDE service.
First Page of SAP Web IDE
Let’s start a new project now. Click File->New->Application from Template to proceed.
The wizard below will launch. Choose the SAPUI5 Application template.

After clicking Next, fill out the form with the application’s name and name space.

After selecting “next,” you can choose to create an application with one of the following views: xml, js, html, or json.SAP recommends XML as the preferred view type, therefore that’s what I’ve chosen. Please give the view’s name. I’ve left the name exactly how the wizard entered it.

Select “Finish.” The project that is displayed below will be generated in the Web IDE workspace.

Next, open View1.controller.js and add the following code to the view’s onInit method.
sap.ui.define([
	"sap/ui/core/mvc/Controller",
	"sap/ui/model/json/JSONModel"
], function (Controller, JSONModel) {
	"use strict";

	return Controller.extend("demo.sap.EmployeeList.controller.View1", {
		onInit: function () {

// Create Employee Data in JSON format. In below data,'emp' is the rootnode.
			var oEmpData =
			{
	       emp: [{
			empid: "111111",
			empname: "John Walter"
		},
		{
			empid: "222222",
			empname: "Rashid Khan"
		},
		{
			empid: "333333",
			empname: "Supriya Singh"
		}
	]
};
// Create an instance of JSON Model using the Employee data available above.
var oModel = new JSONModel(oEmpData);
// Set the Model to the current view so that Model's data is available to
// the entire view. It means any control within that view can use this
// Model's data for binding unless another Model is bound to that specific control.
this.getView().setModel(oModel);
		}
	});
});
The code above accomplishes three goals:
Initially, create employee data in JSON format.Node ’emp’ is the root.
Second, we are leveraging Employee data to create an instance of the JSON model.Var oModel is equal to new JSONModel(oEmpData);
Finally, we are assigning the Model to the View so that the view’s controls can bind to its data.this.getView().setModel (oModel);
Let’s now develop the view portion. Open view1.view.xml, then add the following code to it.
<mvc:View controllerName="demo.sap.EmployeeList.controller.View1" xmlns:mvc="sap.ui.core.mvc" displayBlock="true" xmlns="sap.m">
	<Shell id="shell">
		<App id="app">
			<pages>
				<Page id="page" title="{i18n>title}">
					<content>
						<List
							id="emplist"
							items="{/emp}"
							headerText="Employee Data"
							headerDesign="Standard"
							footerText="End of the List"
							noDataText="No Employees"
							showNoData="true">
							<items>
								<StandardListItem title="{empid}" description="{empname}"></StandardListItem>
							</items>
						</List>

					</content>
				</Page>
			</pages>
		</App>
	</Shell>
</mvc:View>
Please find below a screenshot of the xml view code for improved visibility and comprehension.
I’ve highlighted the following three sections in the XML view:
items’ combination of StandardListItem’s title, description, and List Control characteristics. The items of List control are bound to “emp,” which is the root node of our JSON model. It implies that, thanks to a process known as “aggregation binding,” every record or line item in the JSON model will be shown in the list.items = “{/emp}”
Additionally, we must provide to the view which control will serve as a template for entering each line item in the list. Thus, we have selected StandardListItem in our instance.The given item is a standard list item.
Next, we’ve tied the StandardListItem’s title and description values to the empid and empname fields of

Now Let’s Try
It’s time to run the application.On the Web IDE toolbar, select the Play button.

And this is the result: we were able to design a responsive List Control that works well on desktop, laptop, mobile, and tablet computers.
Employee code and name are displayed in the Title and Description properties, respectively, by SAPUI5 List Control.
The app’s navigation feature
In order to make our application more dynamic, let’s also add a navigation feature to the list. Let’s add a click feature to the list and show the information of the clicked object in an ObjectHeader Control that appears beneath the list.
In order to accomplish this click, navigation, and display, we must carry out the following three tasks:
- In our view, add an ObjectHeader Control underneath the List.
- Set the StandardListItem’s type property to “Navigation” to enable clickability for the list elements.
- In order to handle the press event on the StandardListItem, we finally define a press event handler.
Following these modifications, the xml view code will resemble this. The latest alterations are indicated in yellow.

Additionally, we must define the event handler for StandardListItem’s press event.The controller defines the onItemPress event handler.Please see the code below for it.
onItemPress:function(oEvent)
		{
			var oItem = oEvent.getSource();
			var oCtx = oItem.getBindingContext();
			var path = oCtx.getPath();
			this.getView().byId("objectid").bindElement(path);
			// alert(oEvent.getSource());
		}
Screenshot of the code is also given below:

Let’s examine the code for the event handler:
We are passing oEvent as the parameter to this event handler. This is a parameter defined by the framework that allows us to determine which control caused the event.
It is simple to find the binding context of a control that caused an event once we know its instance. From there, we can determine the binding path inside a list of things.
The data that is accessible on that path can then be shown by using the path to perform an element binding on any other control—in this case, the ObjectHeader.
For instance, the path is determined to be “/emp/3” when item number three in the list is clicked. The procedure called bindElement receives this path. Consequently, the third list item’s data is shown in the ObjectHeader Control.This is seen below.

In brief:
This tutorial covered the following topics:
- Model Types
- JSON model creation and binding with List Control
- Application of the StandardListItem Control’s Navigation Property.
- Additionally, we observed that the binding context and precise binding path within the Model data may be obtained using the standard oEvent parameter.
We studied aggregate binding (List Control) and property binding (StandardListItem Control) before moving on to element binding (ObjectHeader Control).
Kindly provide your feedback regarding this tutorial, and I would be pleased to address any queries or remarks you may have.
Read Our blog here:-