

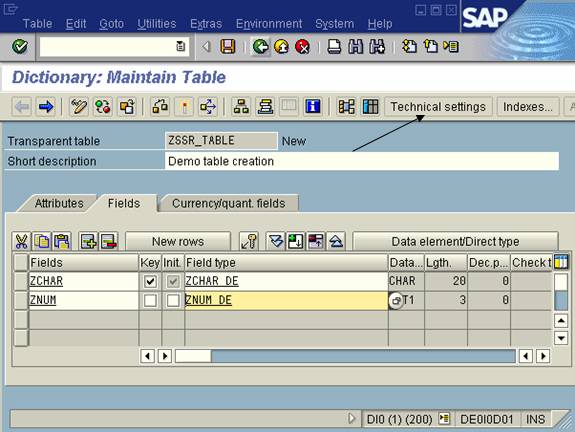
- Now we created two fields. And Data elements and Domain for these two fields.
Now we have to maintain the technical settings. Press on Technical settings button.
- Give the data class and size category of the table as per the requirement.
And press the back button.

35. Now activate the table by pressing the activate button or CTRL+F3.

36. Press enter.

37. Now you will get the following screen.

38. Now enter the data into table. Go to Utilitiesà Table contents à Create Entries.

39. Now enter the data in the fields and Save it.

40. You will get the following screen after clicking the Reset Button.